Cleaning your shower can feel like an endless chore, but it doesn't have to be a grueling task.
With the right techniques and a few handy tools, you can tackle even the most stubborn grime and soap scum. Here’s how you can clean your shower like a professional without breaking a sweat!
The foundation of a sparkling shower starts with choosing the right cleaning solution. Whether you're fighting soap scum or hard water stains, the key is a cleaner that’s tough on dirt but gentle on your surfaces. For an eco-friendly and effective solution, mix equal parts white vinegar and warm water in a spray bottle, or create a DIY blend with vinegar, dish soap, and water.
This simple concoction can work wonders, especially on glass doors and tile.
Commercial cleaners are also an option, but make sure they are appropriate for your specific shower materials. For example, stone showers require special, pH-neutral cleaners to avoid damage.
Using the proper tools can make all the difference in cutting down cleaning time and effort. A non-scratch sponge or soft-bristle brush is perfect for scrubbing away grime without damaging surfaces.
Microfiber towels are fantastic for wiping down and drying the surfaces, leaving them streak-free. For those stubborn mineral deposits on your showerhead or fixtures, a toothbrush or an old razor blade works great for precision scrubbing.
If you're in a hurry, consider investing in a drill brush attachment. This tool can significantly speed up the scrubbing process, making it ideal for deep-cleaning days.
One pro tip often overlooked is allowing your cleaner to sit for a while before you start scrubbing.
After spraying your solution all over the shower—on walls, doors, and fixtures—let it sit for 10-15 minutes. This gives the cleaner time to break down tough stains and soap scum, meaning less effort on your part when it’s time to scrub.
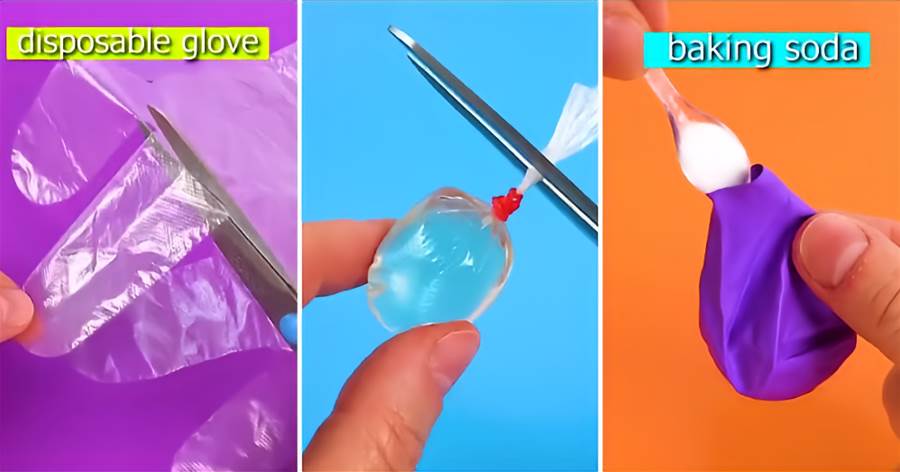
For particularly tough areas like grout, you can sprinkle some baking soda before scrubbing. Baking soda works wonders for loosening dirt and grime, making the job easier on your arms.
No one likes grimy grout! To clean it properly, create a paste using baking soda and water.
Apply it to the grout lines, scrub with an old toothbrush, and rinse well. This method also helps in removing mildew and keeping those lines clean for longer.
Don't forget the fixtures. Mineral deposits from hard water can leave spots on showerheads and faucets. The easiest way to tackle this is by soaking them in a vinegar solution for about 30 minutes. Simply tie a plastic bag filled with vinegar around the showerhead using a rubber band. After soaking, scrub lightly with a toothbrush, and voilà, your fixtures will shine again.
The final step is often the most important: rinse and dry. After scrubbing, make sure you rinse all the surfaces thoroughly with warm water to remove any leftover cleaning solution. Then, dry everything off with a microfiber cloth or squeegee to avoid water spots and streaks.
A good practice to maintain your shower's sparkle between deep cleanings is to wipe down the surfaces after every use. It may seem tedious, but it prevents soap scum from building up, saving you time in the long run.
The best way to keep your shower clean is regular maintenance. Keep a squeegee handy and wipe down your shower after every use. Running your bathroom fan for a few minutes after a shower also helps keep moisture—and the inevitable mildew—at bay. For those dealing with caulk issues, remember to clean any mold as soon as it appears and replace damaged caulk quickly.
With these tips, cleaning your shower doesn’t have to be a dreaded task. Follow these steps, and you’ll have a gleaming, fresh shower in no time.
What’s your go-to cleaning trick? Share your thoughts below!